
Looking for other items, visit CUBED GROUP
School FAQ ?
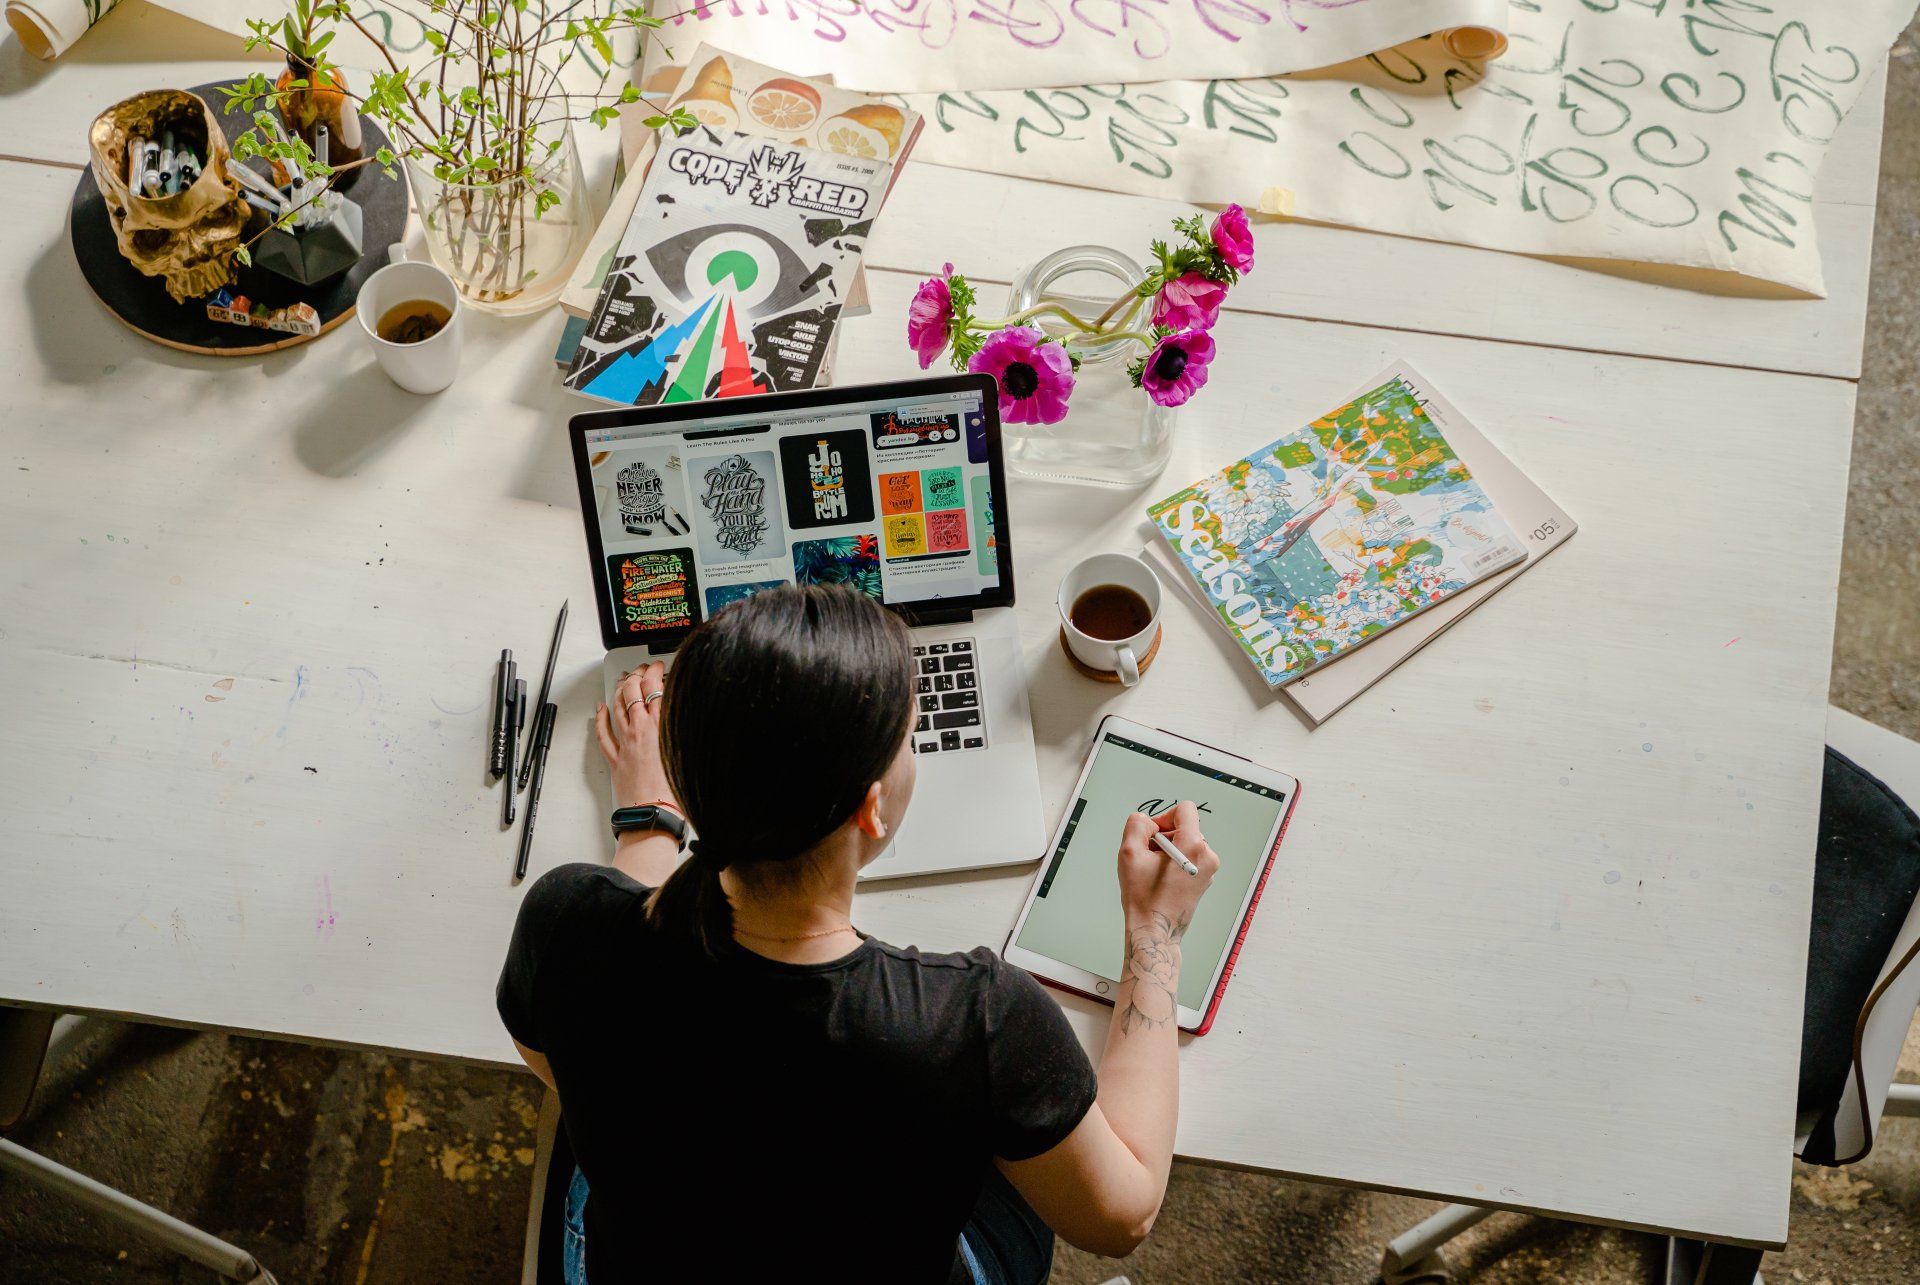
How does the design process start?
The design process begins with an email in which we send you our design brief form which you can add your ideas, themes, and the message you want to convey through the wall graphics. We'll also consider the space, wall dimensions, and specific school branding or colour schemes. A site visit may also be conducted to understand the environment better. Post brief, our design team will start creating initial design concepts based on the gathered information, which will then be shared with you for feedback and revisions, ensuring the designs align with your vision and educational objectives.
The Design Process for Wall Graphics
The design process for creating custom wall graphics involves several vital steps to ensure the final product aligns with your vision and educational objectives. Here’s a detailed outline of the process:
1. Initial Contact and Briefing:
- Email Introduction: The process begins with an email from us, in which we send you our design brief form.
- Design Brief Form: You fill out the form with your ideas, themes, and the message you want to convey through the wall graphics. This form also includes details about the space, wall dimensions, specific school branding, and colour schemes.
2. Gathering Information:
- Understanding the Environment: We gather detailed information about the school environment, including the physical space and any unique considerations.
- Site Visit: A site visit may be conducted to understand better the space, lighting, and other environmental factors that could impact the design.
3. Concept Development:
- Initial Design Concepts: Our design team starts creating initial design concepts based on the gathered information and your input from the design brief form.
- Incorporating Themes and Messages: These concepts will reflect the themes, messages, and educational objectives you want to convey.
- Considering Branding: We ensure the designs align with your school's branding, including specific colours and logos.
- Sharing Initial Concepts: The initial design concepts are shared with you for feedback. This may include sketches, digital mock-ups, or mood boards.
- Gathering Feedback: We collect your feedback on the initial concepts, noting any changes or additions you would like to see.
- Revisions: Based on your feedback, our design team makes the necessary revisions, refining the designs to meet your vision better.
5. Finalising the Design:
- Approval Process: Once the revisions are made, the updated designs are shared with you for final approval.
- Detailed Plans: Detailed design plans, including final colour schemes, materials, and installation instructions, are prepared.
6. Production and Installation:
- Material Selection: We choose durable, non-toxic, and eco-friendly materials that are safe for children and suitable for the school environment.
- Production: The approved designs are produced using high-quality printing techniques and materials.
- Professional Installation: Our expert installation team ensures the graphics are applied smoothly and correctly, considering safety and aesthetic quality.
7. Ongoing Support:
- Maintenance Tips: We provide guidelines for maintaining the wall graphics to keep them looking fresh and engaging.
- Updates and Additions: Periodic updates or additions to the graphics can introduce new themes or reflect changes in the school’s environment or branding.
Summary of the Design Process
- Initial Contact and Briefing:
- Email introduction with design brief form.
- Gathering Information:
- Understanding the environment and conducting a site visit if necessary.
- Concept Development:
- I am creating initial design concepts based on the design brief.
- Feedback and Revisions:
- Sharing initial concepts, gathering feedback, and making revisions.
- Finalising the Design:
- Approval process and preparing detailed design plans.
- Production and Installation:
- Selecting materials, producing designs, and professional installation.
- Ongoing Support:
- We provide maintenance tips and offer updates or additions.
This process ensures that the final wall graphics align perfectly with your school's vision, branding, and educational objectives, creating an engaging and inspiring environment for students and staff.

Graphics depicting diversity and inclusivity can embody the values of respect and solidarity in the school community. They can demonstrate a dedication to creating an environment where all students feel appreciated.
Using aids like graphics can assist students in remembering information better through mnemonic devices in a visually appealing way; for example, a graphic illustrating the rainbow's colours and corresponding mnemonics can help them recall the sequence more effectively. Children tend to learn effectively when their senses are engaged in various ways simultaneously; bright and colourful wall graphics can enhance visual stimuli and can be combined with different textures for tactile stimulation or interactive elements for movement to accommodate diverse learning preferences.
Visual representation of the school’s mission statement can be created using wall graphics to showcase its core values to everyone entering the premises at a glance.
In subjects like mathematics and science, wall graphics can visually illustrate abstract ideas such as shapes, numbers, the water cycle, or the life cycle of butterflies. Observing these concepts displayed on classroom walls regularly can strengthen understanding and assist students in grasping intricate concepts.
This part showcases stories and visuals of known community members, such as leaders, artists and other influential individuals. Student and Community Collaborations: projects involving the school and the community highlighting shared accomplishments and endeavours.
Utilising aids can significantly aid in children's language development by introducing vocabulary, fostering word recognition, and establishing connections between visuals and word meanings. Here are some tips for creating and using wall graphics to enrich language and vocabulary skills:
Using quotes and images on wall graphics can create an atmosphere of ambition and encouragement, reflecting a school culture that aims for excellence and motivates students to strive for their best. Below are tips on designing and incorporating wall graphics that promote inspiration and aspiration in schools:
Teaching Visual Understanding through Wall Designs in Early Childhood Education: Wall designs can be a technique for cultivating comprehension in young learners by assisting them in interpreting and deriving meaning from visuals. This approach introduces symbols, icons, and visual representations that children can use to connect with ideas, language, and feelings. Below are suggestions for crafting and incorporating wall designs that boost literacy among children;
Connecting with the Community; Using graphics that represent the community or cultural background can help foster a sense of belonging and unity showing that the school is a part of the neighborhood.
School Identity and Spirit: Using custom graphics can help strengthen the school's identity, mascots, and slogans, fostering a sense of community and pride among students, which is both uplifting and motivating.


